RICOH THETA X comes with a variety of never-before-seen ways to shoot with a THETA. Read this article to discover the useful functions newly added to RICOH THETA X.
New Shutter
Touch shutter:
In addition to the normal shutter button under the screen, THETA X comes with a [Touch shutter] function that allows you to shoot by tapping directly on the screen. Swipe down on the controls and tap the [Touch shutter] icon on the camera settings screen to turn it on.
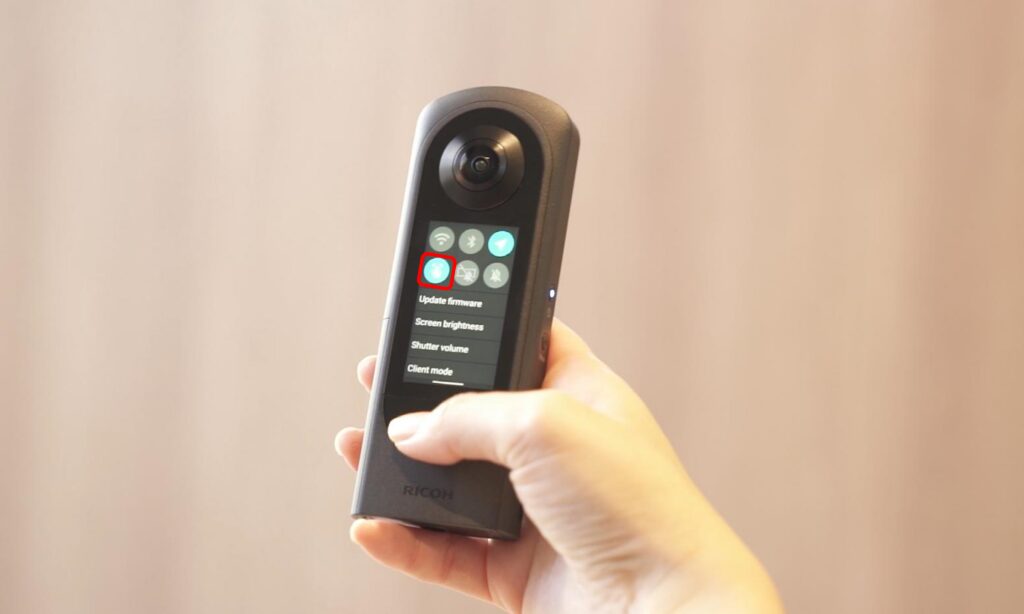
[Touch shutter] icon on the camera settings screen
THETA X is equipped with a large touchscreen, so the shutter button is positioned slightly lower than previous models. When you want to shoot while holding THETA X in your hand, we recommend the touch shutter function. Just tap inside the frame displayed on the screen and you can start shooting.
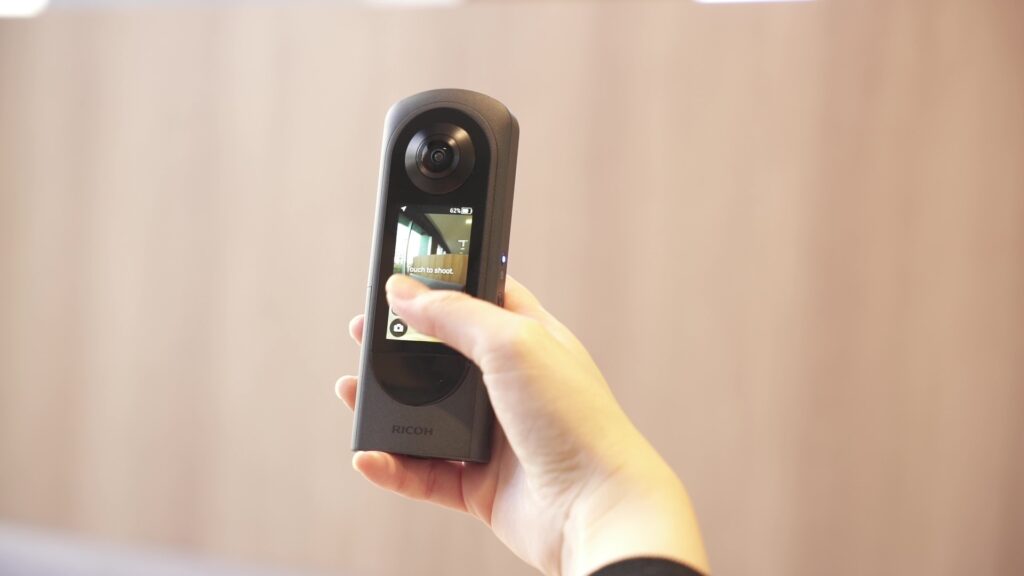
Tap inside the frame displayed on the screen to shoot
Postview:
THETA X can display the image on the screen after shooting. The default setting is ON. The captured image will be displayed in the lower left corner of the screen and you can tap it to go directly to ‘single view’. Try the quick playback for still images.
Photo by Sam Rohn: THETA X 11K HDR
New shooting settings
Continuous shooting:
THETA X is the first THETA to feature continuous shooting. To enable it swipe up twice on the shooting parameter setting screen to display the [Shooting settings] screen and change [Normal shooting] to [Continuous shooting] to shoot in continuous mode.
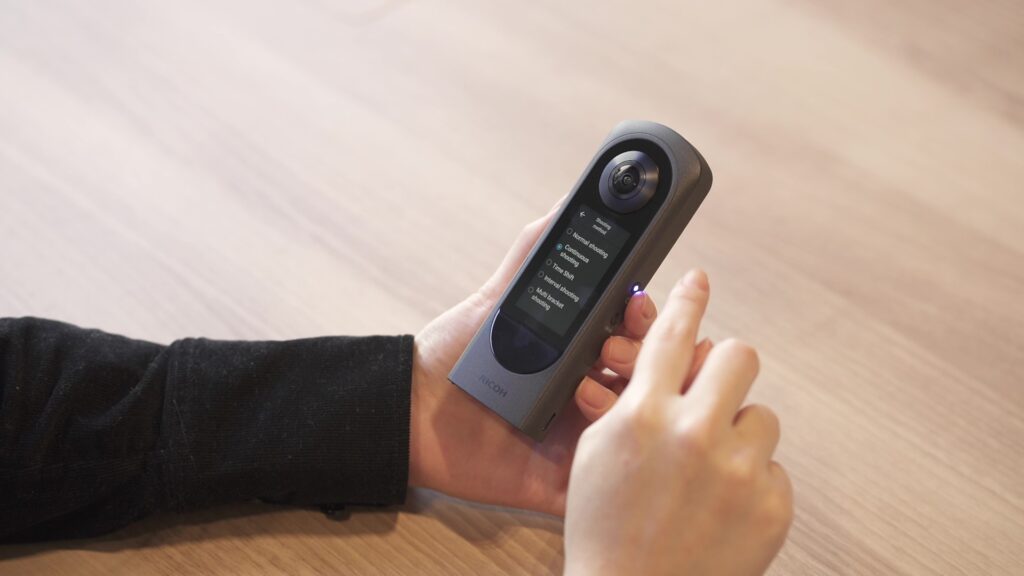
When [Image size] is set to [11K], 8 images are shot continuously, and when it is set to [5.5K], 20 images are shot continuously in 2 seconds. (At a slow shutter speed it will take a little longer.)
Try combining continuous shooting with the self-timer to capture unmissable moments!
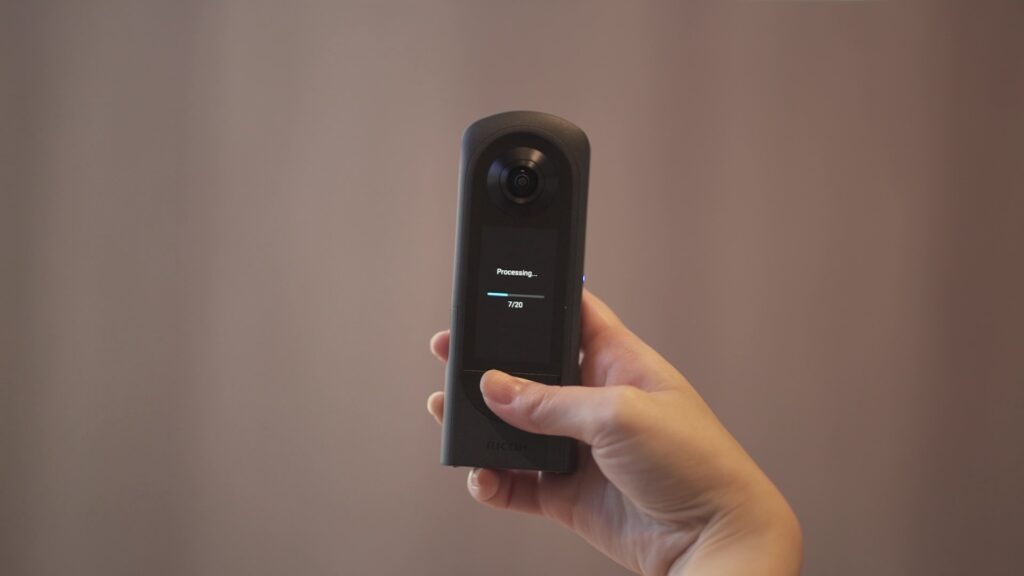
20 images are shot continuously in 2 seconds
Multi bracket shooting:
Previous THETAs also included multi bracket shooting settings, but THETA X allows multi bracket shooting to be done as fast as continuous shooting.
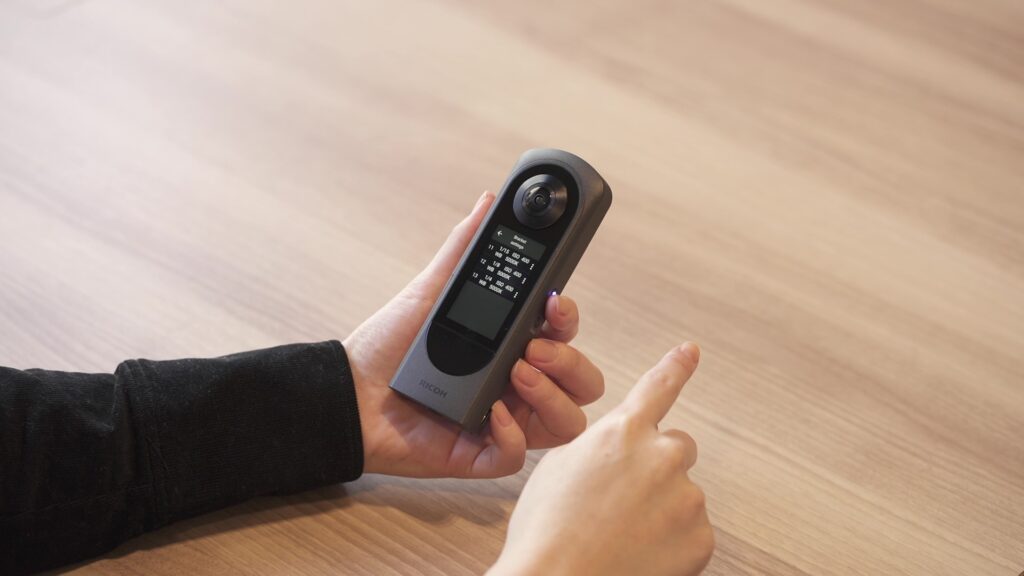
Setting the multi bracket shooting on the screen
Multi bracket shoots images continuously while different settings such as shutter speed, ISO sensitivity, and white balance are set manually (you can bracket up to 13 different settings).
360° multi bracket images captured by THETA have been used by the CG and VFX industry around the world to efficiently create HDRI data for big budget projects.
The multi bracket shooting setting can be easily enabled on THETA X’s screen, and shooting can be completed instantly.
Time shift:
Time shift allows you to take photos without being in frame yourself. It achieves this by including a short delay between shooting with the front lens and the rear lens and then composites the two images as usual. This way you have time to move to the other side of THETA and avoid being captured in the frame!
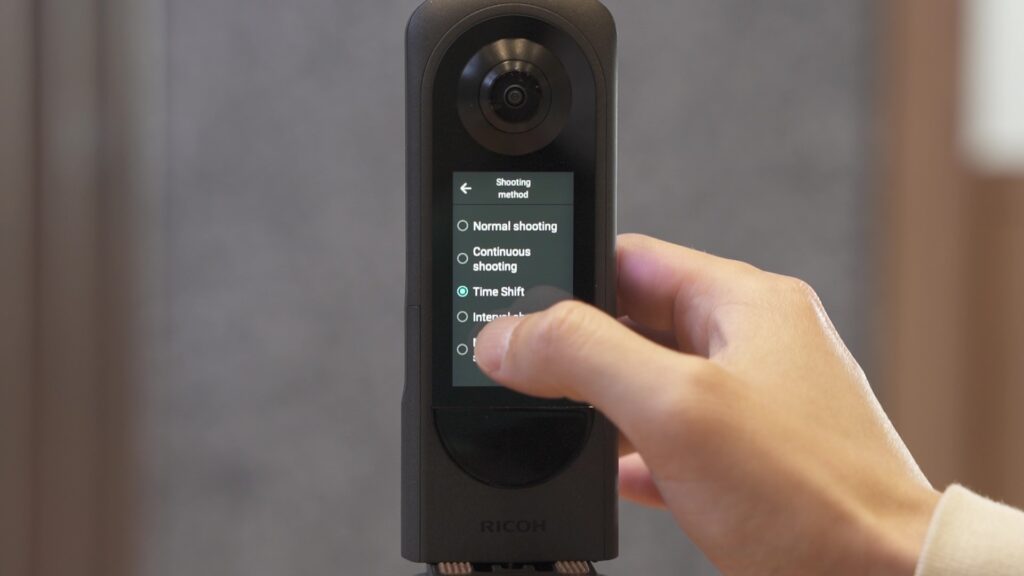
THETA V and Z1 supported this function as a plug-in, and THETA SC2 for business supported it with the ‘ROOM’ preset (HDR synthesis), but now it comes standard in THETA X.

We recommend using this function when shooting in locations where you have nowhere to hide, or when you don’t want to leave THETA alone while shooting (such as crowded places or windy places).
THETA X 11K HDR Shot by Time Shift
Interval shooting:
The interval shooting setting is available on THETA X just as on previous models. You can set the shooting interval (from 6 seconds to 60 minutes, in 1-second increments) and the number of shots (from 2 to 200 images, or [Not specified]) as desired.
My Settings:
THETA X also has [My Settings] same as THETA Z1. It allows you to register one set of shooting settings for still images and movies.
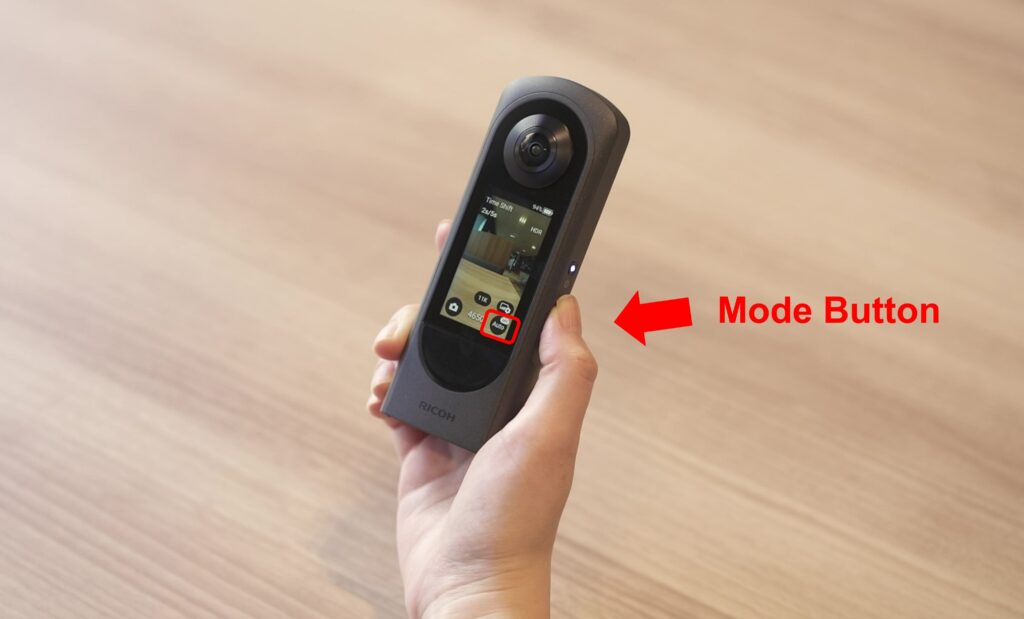
Press the ‘Mode’ button to recall My Settings
Registered My Settings can be immediately recalled from the shooting screen. They can also be recalled by pressing from the ‘Mode’ button on the side of the camera.
Face detection:
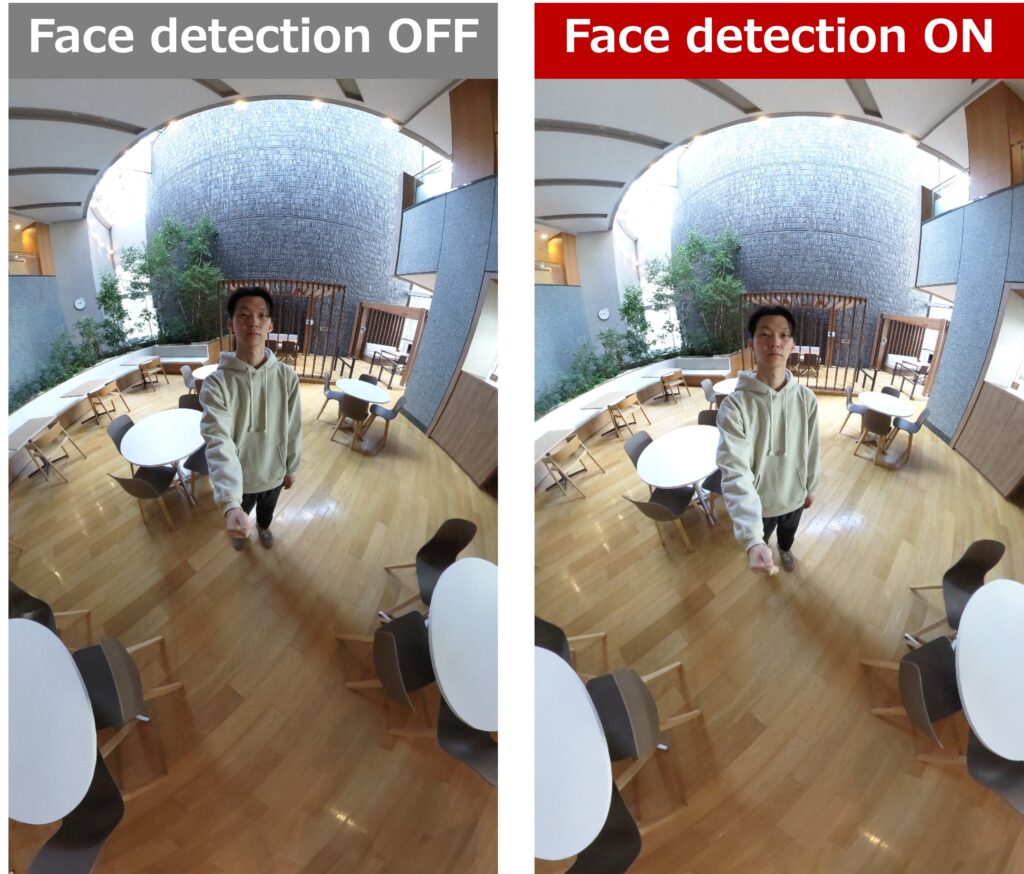
This sets whether to detect faces during shooting. When [Face detection] is set to on, shooting is performed with an exposure suitable for portrait photography. This function does not center faces in the frame.
Retrospective videos:
You can pre-roll videos by pressing and holding the shutter button for 0.5 seconds or longer in the video shooting mode. While the shutter release button is held down, the camera goes into movie recording standby mode and will pre-roll 2 seconds of video before the moment when you release the shutter button. This way, you won’t miss key moments!
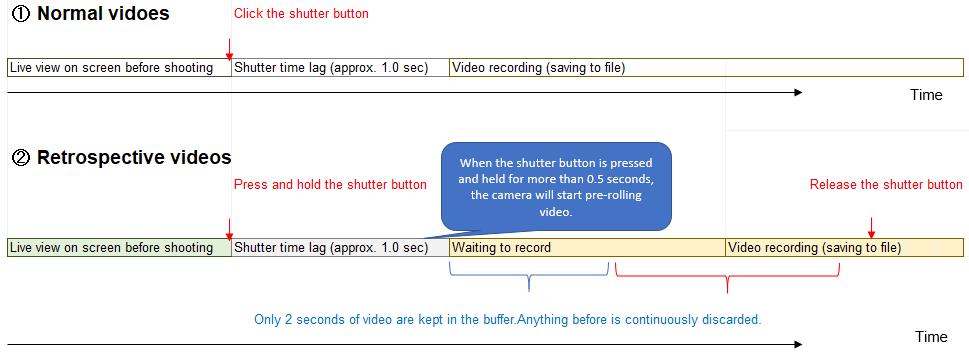
For example, at a graduation ceremony for your kids, if you hold down the shutter button and wait for them to come on stage , and then release the shutter button the moment you see them, the camera will still capture the two seconds prior to you releasing the shutter button. This eliminates the need to start shooting extra early and then having to cut down the video, while also making sure you don’t miss moments that happen suddenly.
New Image Playback Function
For the first time in the THETA series, a “playback screen” has been installed on the camera’s control panel, and new functions have been added to the way images are played back.
Initial view setting (AI Auto):
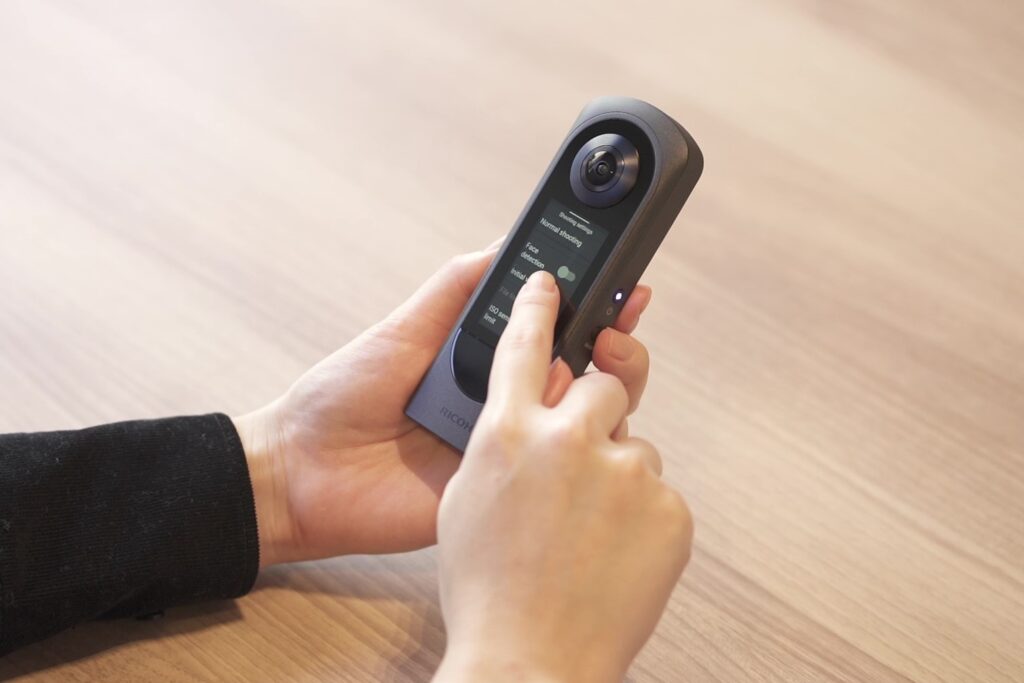
In the shooting settings, you can select the orientation for playback of still images.
Initial view setting
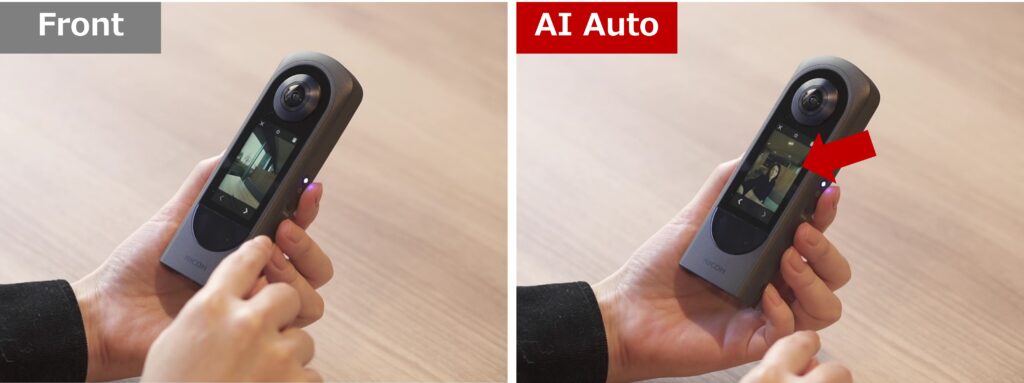
The default setting is [Front]: plays back in a view based on the position of the front lens. There is also a new setting called [AI Auto] which attempts to automatically determine the main subject and plays back the image with the subject centered.
Many new functions have been added to THETA X, both before and after shooting, for a more fun and convenient shooting experience, so be sure to try them all out!
Photo by Michael Ty : THETA X 11K Auto
▼Watch this tutorial video to learn the detail of shooting functions of THETA X!
Special thanks to Sam Rohn and Michael Ty!
Detail for still image quality of THETA X:
How is the still image quality of RICOH THETA X?
Detail for video feature of THETA X:
What are RICOH THETA X’s new video features?


.jpg)


.svg)


